

Teaching Centers Step-by-Step can make the difference between centers that feel chaotic and centers that practically run themselves. If you’ve ever had students wandering around the room, asking, “What do I do now?” every two minutes, you’re not alone. Teaching centers doesn’t happen overnight, but with the right approach, your little learners can become confident and independent.
Can you believe we’ve already reached Day 20 of my 31 Days of Kindergarten series? I hope you’ve been picking up new ideas along the way because today we’re talking about one of my favorite classroom topics—teaching centers step-by-step.
Can we all agree that centers are one of the most exciting parts of the kindergarten day for our little learners? The best part is that students get to practice academic skills through fun, hands-on activities while also having the excitement of choice—deciding which activity to explore and complete during center time.
Students love the hands-on activities, the movement, and the chance to work with classmates. But before centers become the smooth, independent learning time we all dream about, students have to learn exactly how they work.
Over the years, I’ve discovered that successful centers don’t happen because you bought cute activities or spent hours laminating games. They happen because you intentionally teach your center routines from the very beginning. Here are the three steps I never skip when introducing kindergarten centers.
One of the biggest mistakes I made as a new teacher was assuming my students would automatically know how to use a center.
Spoiler alert…
They didn’t!
Now, before a new center is ever introduced, I model everything.
I show students:
Nothing is too small to model.
The more time you spend showing students exactly what success looks like, the more independent they’ll become.
My students LOVE this part.
Instead of only telling them the rules, we act them out.
First, I demonstrate the wrong way to use a center. Maybe I dump all the pieces on the floor, interrupt my neighbor, or leave the activity unfinished.
The giggles begin immediately!
Then we repeat the same center the right way.
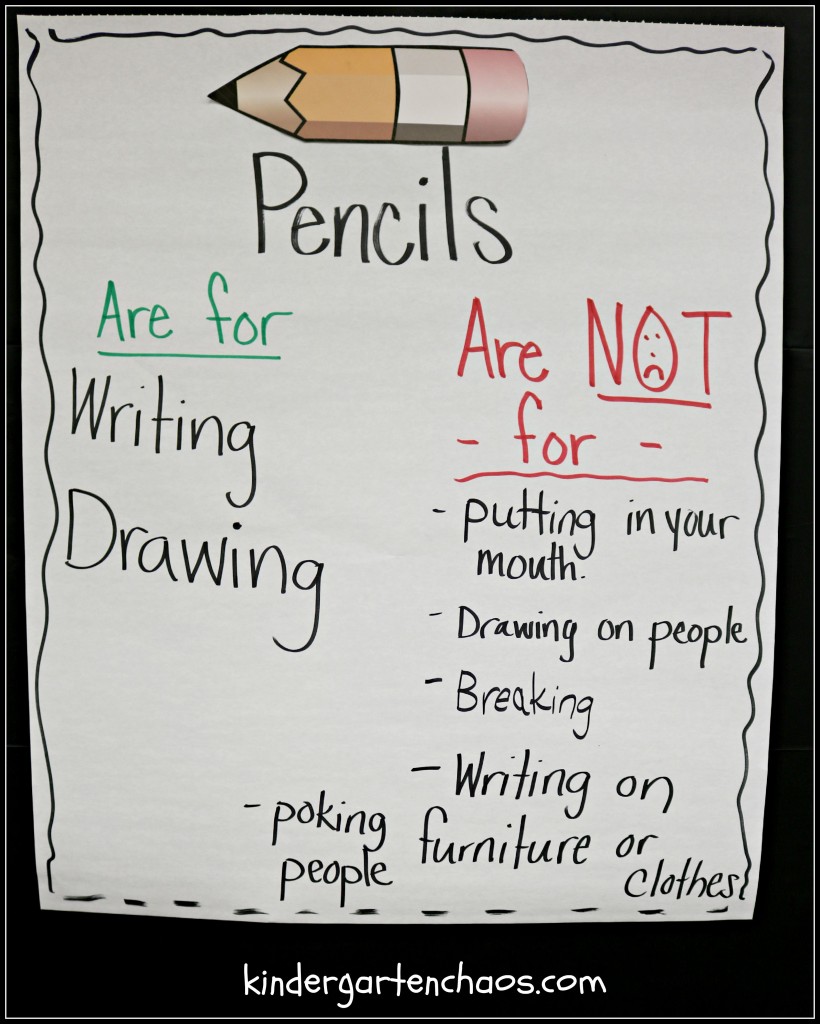
Students quickly notice the differences and often tell me what I should have done instead. These fun demonstrations help expectations stick far better than simply reading a list of rules.
Here’s the step that makes the biggest difference…
We practice.
Then we practice again.
And then we practice some more.
During the first few weeks of school, we may only introduce one new center every few days. We stop often to talk about what went well, celebrate successes, and fix small problems together.
I don’t expect perfection on Day 1 because independence takes time. Every practice session builds confidence, and before long, your little learners will begin solving problems, cleaning up, and rotating with very little teacher assistance.
Teaching centers step-by-step may feel slow at the beginning of the year, but it saves countless interruptions later. Those extra days spent modeling, practicing, and reinforcing expectations create a classroom where students can confidently work at centers while you focus on meaningful instruction.
Don’t miss out on this must-read post: “Why Are Centers Important in Kindergarten?”—you’ll discover why center time plays such a powerful role in building independence, reinforcing skills, and keeping your little learners engaged throughout the day.
Don’t miss this must-read companion post: Kindergarten Station Must-Haves—especially my number one center organization solution and go-to location setup. My absolute favorite? A rainbow drawer cart. It’s a total game-changer for keeping stations organized, accessible, and easy for little learners to navigate independently. With 10 drawers for 10 different station activities, it’s the perfect space-saving system that helps everything stay labeled, structured, and ready to go. If you’re trying to simplify your center time while keeping things fun and functional, you won’t want to skip this one!
How do you introduce centers in your classroom? I’d love to hear your favorite center management tip in the comments!